Table of Contents
Command Hooks for Object Events
It is possible to set an Orx Command on an object to perform that command when the event triggers.
These properties are:
OnPrepare- before an object is fully created, returning false will prevent the object's creationOnCreate- after an object has been fully createdOnDelete- before an object deletion, returning false will prevent the object from being deleted (it will not be deactivated, ie. different effect than when orxSTATUS_FAILURE is returned when handling orxOBJECT_EVENT_DELETE, but its OnDelete command will be removed to prevent infinite OnDelete cycles)
Let's try this out on a standard project. First, make your project.
Setting up a new project
To help you work through this tutorial, first create a new blank project using the init script.
Goal
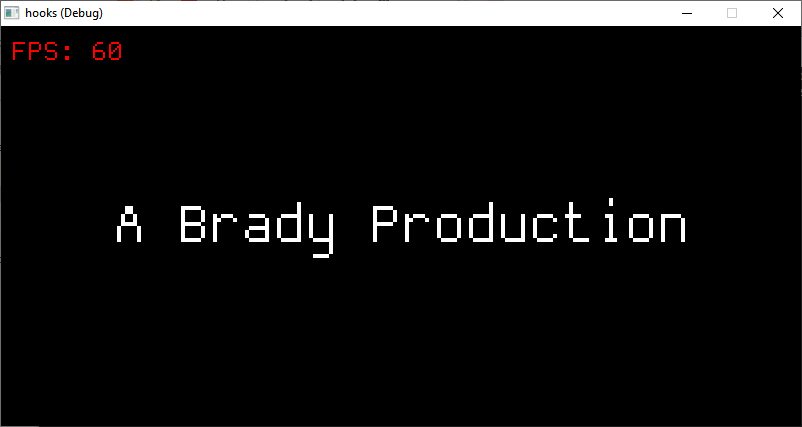
Rather than load straight into the default scene from the project, we will display a small title object, such as “company credits”, for example: “A Brady Production”. When the company credits object dies, it will trigger the command to create the scene of our game.
Try it out
Compile and run the project to first check that the spinning logo is working. We can pretend that the logo is our game itself or a welcome scene for a game.
Instead of displaying the spinning logo scene straight away, let's have a company credit object load first. In the config, let's create this company credit.
[CompanyCredit]
Graphic   = CompanyCreditGraphic
Scale     = 4.0
Smoothing = false
FXList    = CompanyCreditFadeOutFX

[CompanyCreditGraphic]
Text  = CompanyCreditText
Pivot = center

[CompanyCreditText]
String = A Brady Production

[CompanyCreditFadeOutFX]
SlotList        = @
Type            = alpha
Curve           = smooth
Absolute        = true
StartTime       = 2
EndTime         = 3
StartValue      = 1
EndValue        = 0
In the above, we have a CompanyCredit object that is using some text as it's graphic. It's been scaled up to make it bigger, and an FX is attached that will fade out after 2 seconds.
To make this credit object appear, change the scene creation line from the Init() function:
orxObject_CreateFromConfig("Scene");
to become:
orxObject_CreateFromConfig("CompanyCredit");
Compile and run. The credit will appear and then fade out.
We want to create the Scene object after the CompanyCredit object is deleted.
Let's do this in two steps. First, to delete the CompanyCredit object (using the LifeTime property) after the FX has finished:
[CompanyCredit]
Graphic   = CompanyCreditGraphic
Scale     = 4.0
Smoothing = false
FXList    = CompanyCreditFadeOutFX
LifeTime  = fx
If you run that, you probably won't see much difference. But you'll have to trust me that the object will delete once the fx is finished. If you don't want to trust me, you can change the EndValue of the CompanyCreditFadeOutFX to be some non-zero value and note the object disappears once the fade is complete.
The next step is to make use of the OnDelete property for the object in order to create the Scene object:
[CompanyCredit]
Graphic   = CompanyCreditGraphic
Scale     = 4.0
Smoothing = false
FXList    = CompanyCreditFadeOutFX
LifeTime  = fx
OnDelete  = Object.Create Scene
![]()
That it. Probably the easiest usage example, but also a very handy one for swapping between intro screens, slide shows, titles, all sort of similar things.
Notes
There is an Object.SetOnDelete command, which can be run from within OnDelete itself (for cascading effect).
